
Hey people!
I was working on a cloning technique for a test video and, of course, it required various shots from the same angle that needed to be lined up before the masking could begin.
The problem was I had set the camera on a surface rather than using a tripod, so I ended up with slightly offset clips because the camera moved a few degrees every time I pressed Record.
Anyway, this isn't about how to shoot it, this is a quick tip on how to line up the shots in post! This process can be used for anything that involves aligning similar layers. Using Background Plates, creating clones, merging characters from separate shots etc.
This process would also apply to Photoshop, and any application that supports Blend Modes.
THE SHOTS:
So these three shots need to be lined up into one:
 |
| click to view full size |
Looking at the white wall on the left, you can tell that the angle is changing quite a bit!
So I put it all in one comp then set the opacity of the upper two layers to 55% and had a look at the image:
 |
| click to view larger |
The blurriness/ghosting is due to the layers not lining up! So there is work to be done.
STEP 1: CHOOSE A MASTER LAYER
The "master" layer would be the layer that won't be moved. Meaning it's the one we're trying to align the other two to.To make our lives easier, it would then have to be the layer who's translation is the average of the other two. If the change is very slight, then the layer at the very bottom can be the master layer. I've chosen the one with the guy in the middle as the master.
STEP 2: SET TO "DIFFERENCE" BLEND MODE
So, select the master and move it to the bottom of the layer order then select the next layer up and change it's blend mode to DIFFERENCE, then hide the top-most layer. Be sure to set opacity back to 100%If you don't see the blend mode switches, press F4 or click on "Toggle Switches/Modes" at the bottom of the timeline.
Photoshop, the blend mode selection is at the top right of the Layers pallet. It should look something like this:

Difference does an interesting operation. It takes the pixels below and above and then shows the difference between them.
The effect Difference has that is relevant to us is that if two pixels of the same color meet, it'll produce black!
Which obviously means: if the layers are lined up, the whole image (other than the areas where the actors are) should be black!
STEP 3: ALIGN THE LAYERS FOR MAXIMUM BLACK!
So, all we need to do now is use the arrow keys to move and position the layer on top so we can get as much dark areas as possible. It's very rare to get complete black, especially for my case, since there's trees in the background and there appears to have been a rotation of the shot by a fraction of a degree. I could attempt to rotate it into place, but with this shot I think it'd be better to do that after masking.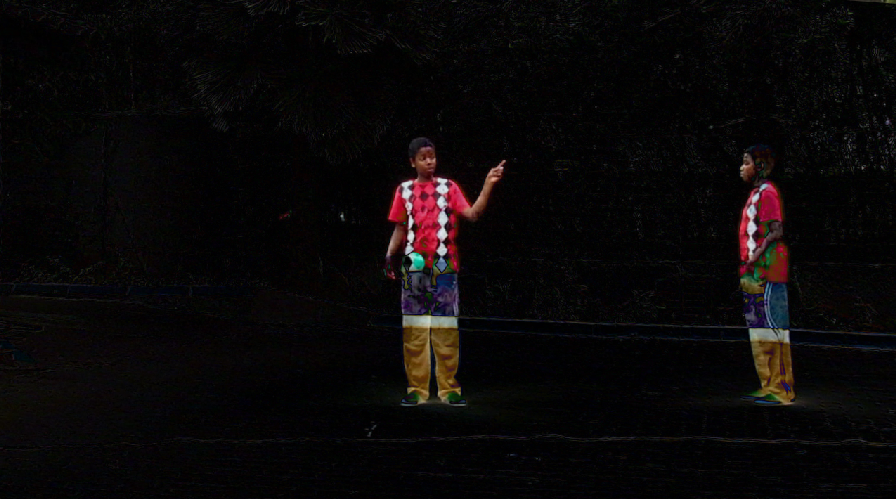
Much cleaner.
Next step now is to do the same for the other footage file and I'm all set! I'd also have to set the blend modes back to Normal.
So, here's a nifty before-after with the 55% opacity. Notice the decreased amount of blur:
 |
| click to view larger |
If you'd like to rotate or position better, I'd suggest using guides on distinct features, such as placing a line along a wall, intersecting guides on a specific point and using it as the point of rotation and so on.
Or, you could avoid the displacement in the first place. Use a video tripod that's tightly locked into place, if not, then do the whole scene in one continuous shot to minimize on touching the camera.
Hope that helps!
Was this post helpful?
Wanna share your process on aligning layers?
Drop a comment below!